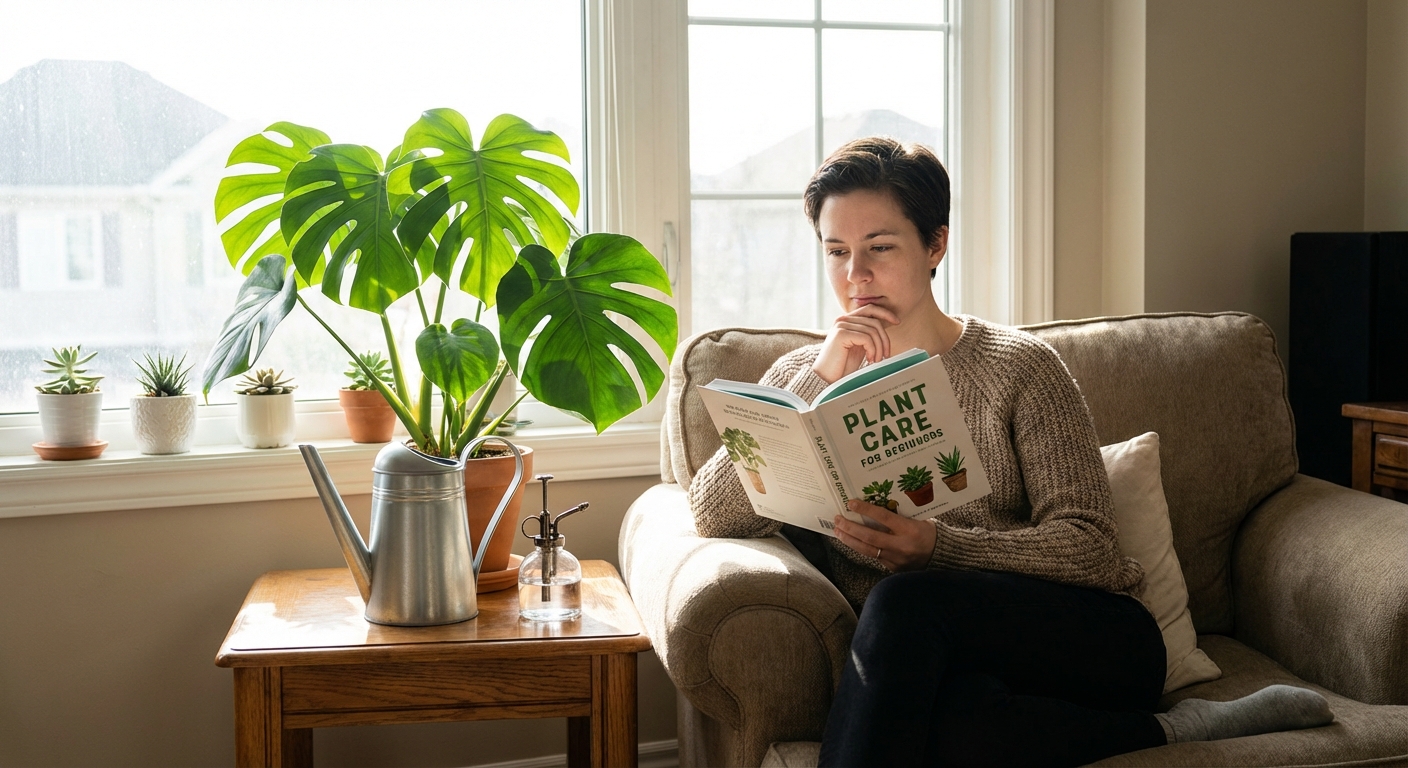
Caring for houseplants doesn’t require a green thumb—only curiosity and a bit of consistency. This step-by-step guide is designed for beginners and gentle enough for anyone feeling unsure.
Start Where You Are, With the Plants You Have
We’ll walk through the basics of light, water, soil, and seasonal shifts using clear actions and simple checklists, with species-specific guidance for three beginner-friendly plants.
Step 1: Match the Plant to the Place
Before watering or repotting, look at the light in your home.
How to Read Your Light
Stand by each window at midday and notice:
- South-facing: brightest, strongest sun - East-facing: gentle morning sun - West-facing: strong afternoon sun - North-facing: soft, low light
Hold your hand 30 cm (12 in) above a surface:
- Sharp, defined shadow = bright light - Soft, blurry shadow = medium light - Faint/no shadow = low light
Simple Placements
- Bright, indirect light: 1–2 m (3–6 ft) back from a sunny window, or filtered by sheer curtains.
- Low-to-medium light: Corners of bright rooms, or near north-facing windows.
Choose plants based on this, not the other way around. Your future self will thank you.
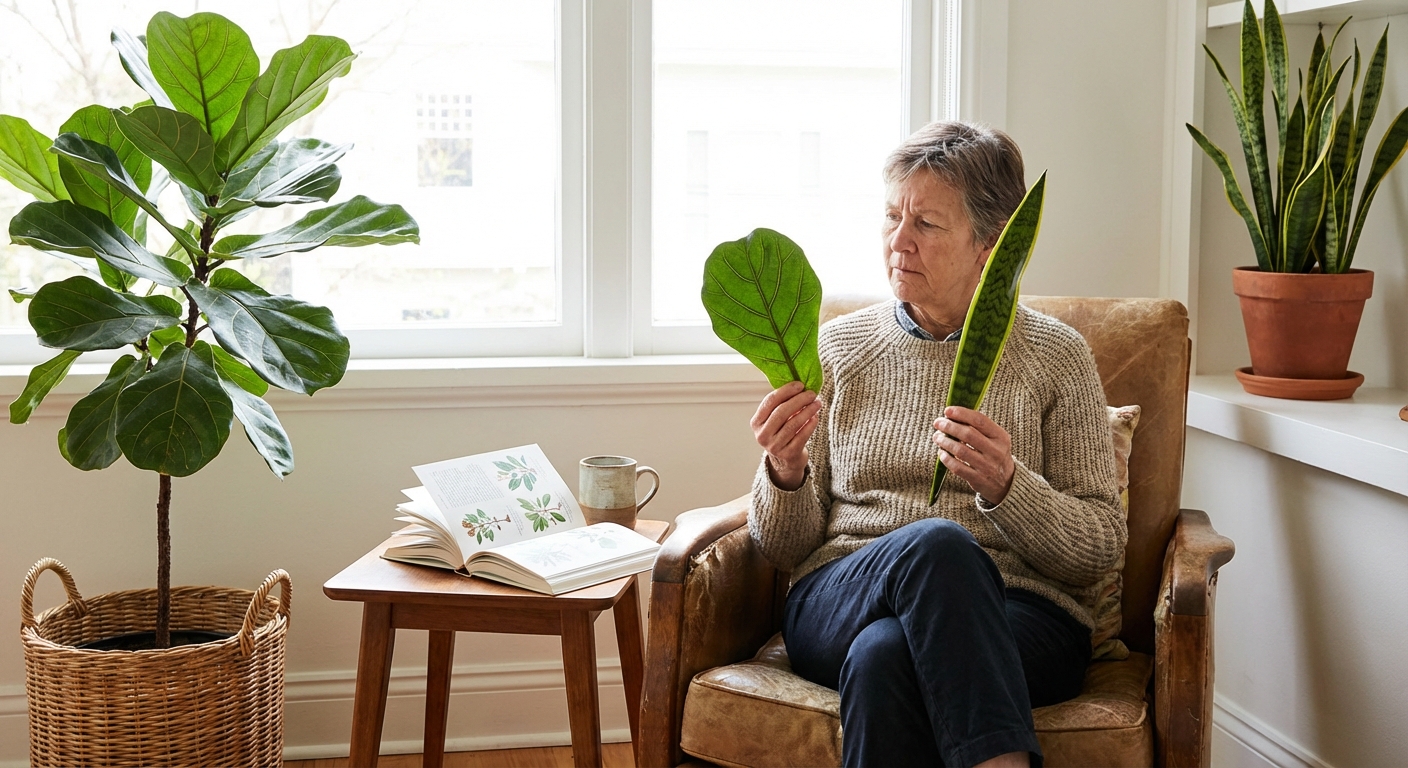
Step 2: Choose Forgiving Starter Plants
Here are three calm, resilient species that respond well to gentle learning.
1. Golden Pothos (Epipremnum aureum)
Why it’s beginner-friendly: Tolerant of a wide range of light and occasional missed waterings.
- Light: Low to bright, indirect. Avoid long hours of direct sun.
- Water: When top 1–2 inches of soil are dry. Leaves droop slightly when thirsty and perk up after watering.
- Notes: Variegation (yellow or white patterns) may fade in very low light; this is normal.
2. ZZ Plant (Zamioculcas zamiifolia)
Why it’s beginner-friendly: Stores water in thick rhizomes; very drought-tolerant.
- Light: Low to bright, indirect. Avoid harsh direct sun.
- Water: Allow soil to dry completely between waterings. In low light, this might mean every 3–4 weeks.
- Notes: Slight yellowing can mean too much water; scale back and let soil dry more deeply.
3. Peace Lily (Spathiphyllum)
Why it’s beginner-friendly: Communicates thirst with dramatic (but reversible) drooping.
- Light: Medium, indirect light is best. Too little light = fewer blooms.
- Water: Water when the top inch is dry. If it droops heavily, water thoroughly and it often recovers within a few hours.
- Notes: Enjoys higher humidity; brown tips often point to dry air or fluoride/chlorine sensitivity.
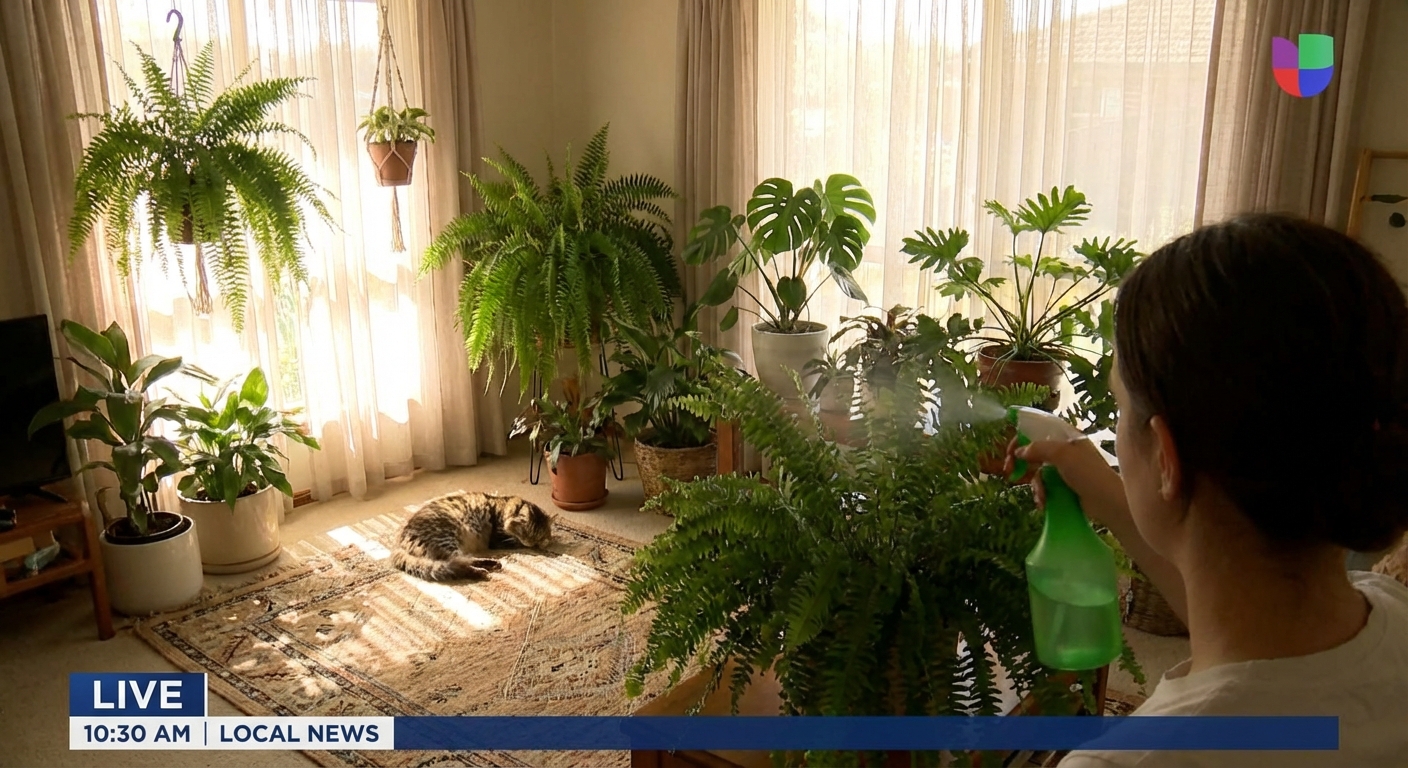
Step 3: Learn a Simple Watering Method
Instead of watering on a fixed schedule, follow this sequence.
The Finger Test Method
- Insert your clean finger 2–3 cm (1 in) into the soil.
- If it feels dry at that depth, it’s a good time to water.
- If it still feels slightly cool or damp, wait 2–3 days and test again.
How to Water Properly
- Use room-temperature water. Cold water can shock roots.
- Water slowly around the base of the plant until liquid begins draining from the bottom.
- Wait 15–20 minutes, then empty any water collected in the saucer.
This ensures roots get moisture without sitting in a constant puddle.
Step 4: Soil, Pots, and Repotting Without Fear
Choosing the Right Pot
- Always choose a pot with a drainage hole.
- Start with a pot that’s 1–2 inches wider than the plant’s root ball.
- Decorative cachepots are fine as outer covers—just keep the plant in a plastic nursery pot inside.
A Gentle Repotting Checklist
You may need to repot if roots circle the bottom, grow from the drainage hole, or soil dries out unusually fast.
- Water your plant lightly the day before to reduce stress.
- Gently slide the plant from its pot, cradling the base.
- Loosen circling roots with your fingers.
- Place a layer of fresh, well-draining potting mix in the new pot.
- Set the plant in, adding soil around the sides and lightly pressing.
- Water thoroughly and place in similar light conditions as before.
For succulents and cacti, choose a gritty, fast-draining mix and a pot that dries quickly (terra cotta works well).
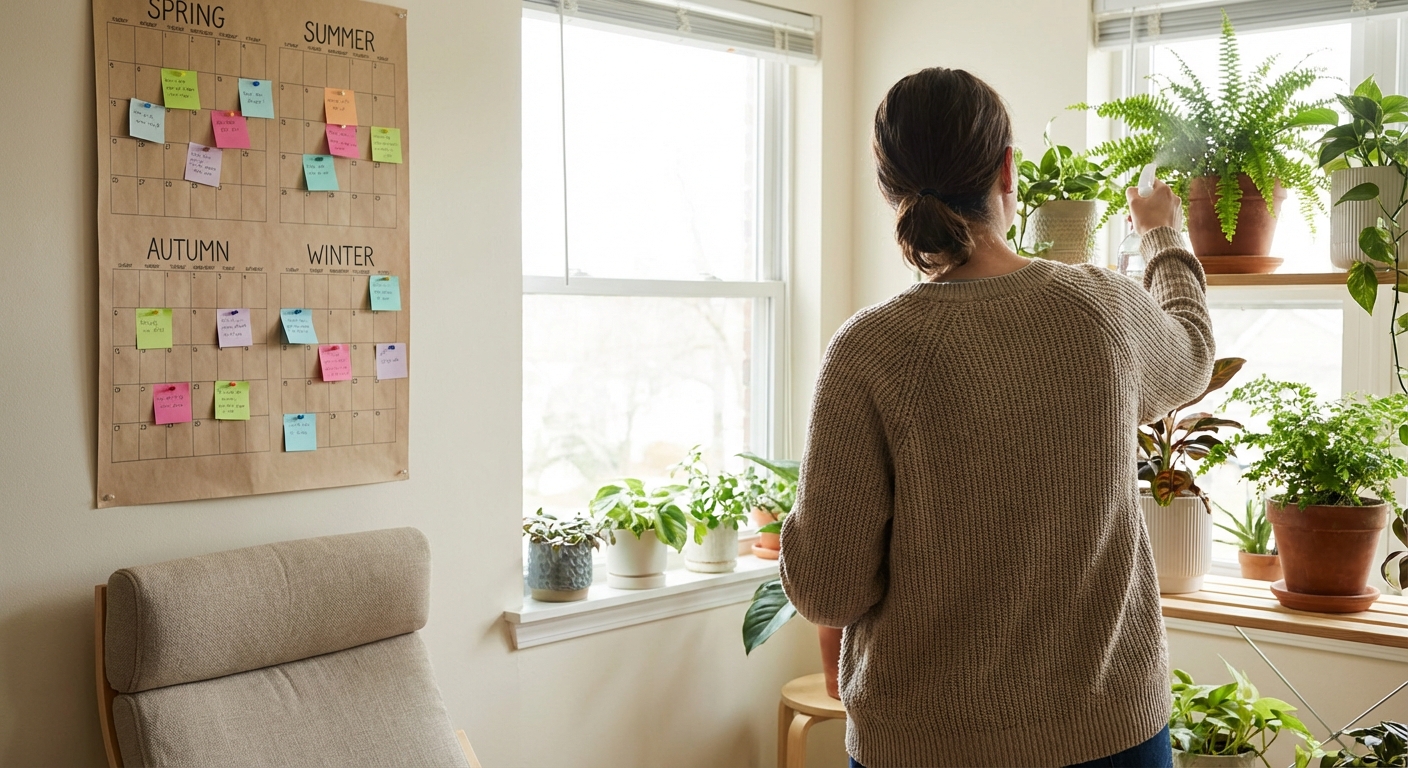
Step 5: Understand Seasonal Shifts in Care
Your plant’s needs change with the seasons, just like our wardrobes.
Spring & Summer
- More light and warmth = faster growth.
- Water a bit more often, but still test soil first.
- Consider a gentle fertilizer once a month at half strength.
Autumn & Winter
- Shorter days slow growth.
- Reduce watering frequency; soil stays moist longer.
- Keep plants away from cold drafts and heater vents.
- Move light-loving plants slightly closer to windows, but avoid cold glass.
Step 6: Quiet Troubleshooting for Common Issues
Wilting Leaves
- Soft, yellowing, soggy soil: Likely overwatering.
- Dry soil pulling from pot edges, crisp leaves: Underwatering.
- Letting overwatered soil dry more between waterings.
- Giving underwatered plants a thorough drink; you may need to water twice, 10 minutes apart, for very dry soil to rehydrate.
Try adjusting by:
Yellow Leaves on Otherwise Healthy Plants
One or two older leaves turning yellow and falling off is often normal aging.
Concern arises when:
- Many leaves yellow at once.
- New growth emerges pale or weak.
Check light, watering pattern, and pot size. Small tweaks usually help.
Brown Leaf Tips
Likely causes:
- Low humidity (common in heated or air-conditioned homes).
- Fertilizer salts building up.
- Group plants together to create a microclimate.
- Place plants near (but not on) trays of pebbles with water below the stones.
- Flush soil every few months with clean water to remove buildup.
Supportive actions:
Step 7: Build a Calming Plant-Care Ritual
Instead of worrying about doing everything perfectly, create a simple, soothing routine.
- Weekly:
- Walk by each plant and check soil with your finger.
- Rotate pots a quarter turn for even light exposure.
- Gently wipe off dust from broad leaves.
- Monthly:
- Inspect for pests (tiny webbing, sticky residue, or small insects under leaves).
- Trim away dead or heavily damaged foliage.
Remember: progress, not perfection. Each new leaf is a sign you’re learning together.
When to Ask for Help
If a plant’s decline feels confusing or overwhelming, it’s okay to pause and reach out:
- Take clear photos of the plant, its soil, and the whole setup.
- Note your watering schedule, light exposure, and recent changes.
Local plant shops, online communities, and gardening friends often enjoy sharing what they’ve learned. Houseplant care is a shared, ongoing conversation—not a test you have to pass alone.
With patience, observation, and a little courage to experiment, your home can grow into a gentle, living sanctuary, one quiet, leafy companion at a time.
Key Takeaway
The most important thing to remember from this article is that this information can change how you think about Houseplant Care.