Bringing home a rare plant – whether from an online auction, a local collector, or a specialty shop – is exciting and a little nerve-wracking. These plants have often traveled far, passed through several environments, and may arrive stressed.
The Tender Transition Period
How you guide them through their first 4–6 weeks in your home can determine whether they settle in calmly or continue to struggle.
This step-by-step guide focuses on gently acclimating rare plants, with examples from popular species and clear signs to watch for as you go.
Step 1: Unboxing with Care
Before opening the package, take a breath and clear a small workspace.
What to Do
- Open gently: Avoid pulling on stems or leaves when removing packing material.
- Inspect leaves and stems: Look for yellowing, black or mushy areas, and pests.
- Check the roots: If the plant is bare-root, roots should be firm and light tan to white.
What’s Normal After Shipping
- A few damaged or yellow leaves
- Slight wilting from lack of water
- Minor soil spillage
When to Pause and Evaluate
- Strong odor of rot
- Soft, black roots
- Visible pests such as mealybugs, spider mites, or scale
If pests are present, place the plant in a separate room and treat before integrating it with the rest of your collection.
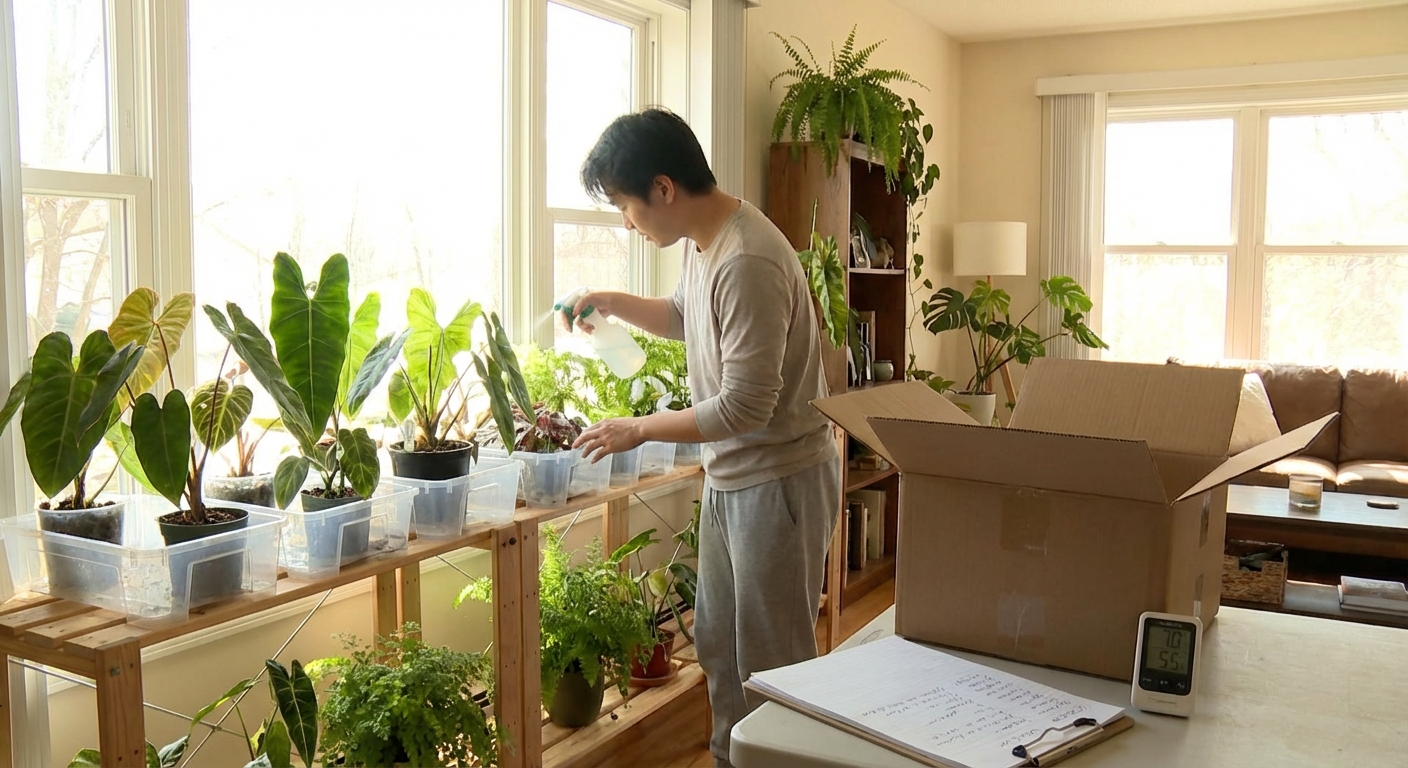
Step 2: Quarantine and Observation
Even if a plant looks healthy, a quarantine period of 2–4 weeks is helpful.
Simple Quarantine Setup
- Place in a separate space: a bathroom, spare room, or distant shelf.
- Provide moderate, indirect light – no intense sun while it adjusts.
- Keep a close eye on leaves, stems, and soil surface.
Tip: A small, inexpensive magnifying glass can help you spot early pests.
Species Examples
- Philodendron verrucosum: Sensitive to low humidity and cold drafts. Quarantine near a humidifier, away from doors and windows.
- Anthurium luxurians: Very texture-sensitive; keep in stable warmth and humidity, watching for fungal spots.
During this time, focus on stability rather than pushing growth.
Step 3: First Watering and Potting Choices
If Your Plant Arrived Potted
- Check moisture by inserting a finger or wooden skewer.
- If soil is soggy and the plant looks stressed, consider a careful repot into a fresh, airy mix.
- If soil is just slightly damp and smells fresh, wait a few days before watering.
If Your Plant Arrived Bare-Root
- Gently rinse roots with lukewarm water.
- Trim away any mushy or black roots with sterile scissors.
Pot into a suitable mix:
- Aroids (Philodendron, Monstera, Anthurium): Chunky, airy aroid mix. - Hoya and Dischidia: Even lighter mix with extra perlite and bark. - Rare ferns: Finer, moisture-retentive but well-draining mix.
Water lightly to settle the soil around the roots, then let excess drain completely.
Common mistake: Potting into a container that is too large. Extra soil stays wet for too long and can suffocate new roots. Aim for a pot only 2–3 cm (1 inch) wider than the root mass.
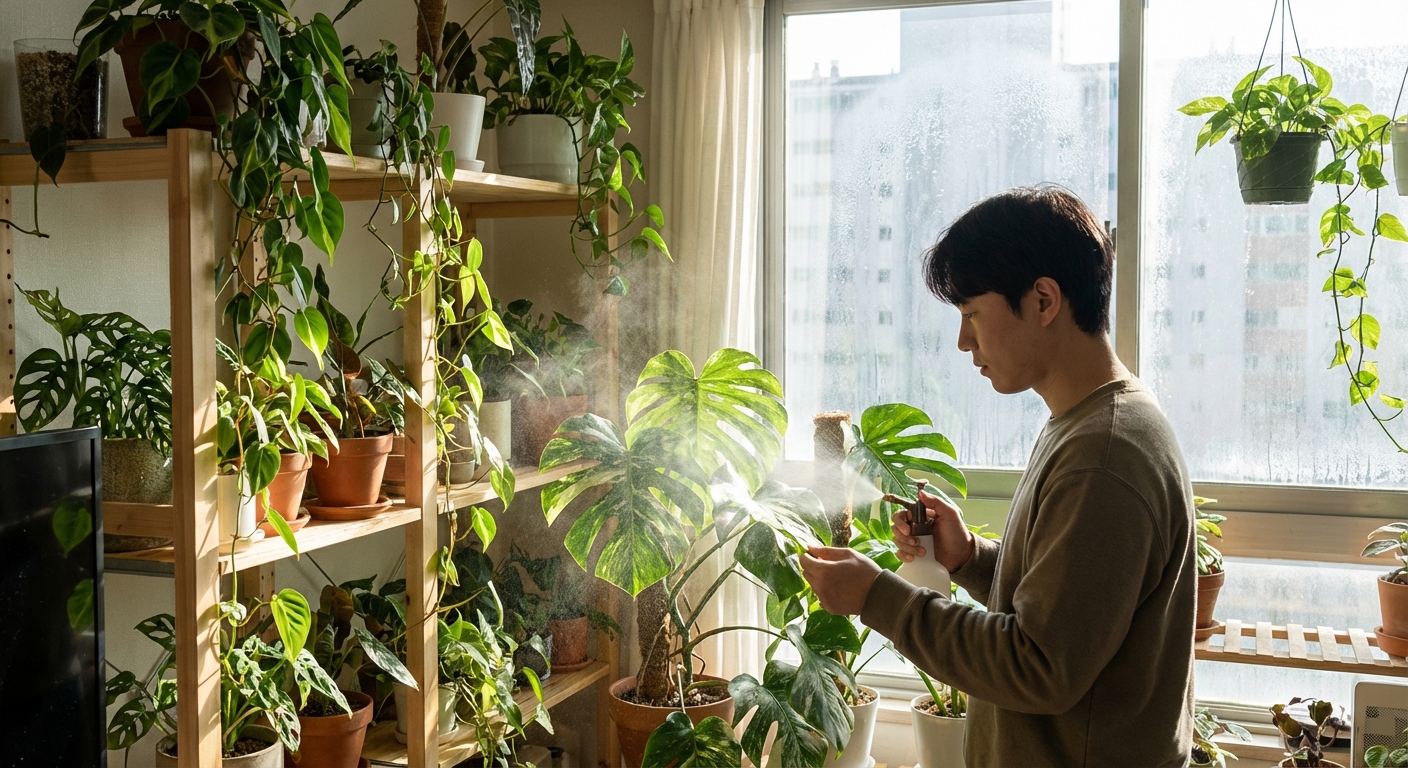
Step 4: Gentle Light and Humidity Adjustment
Think of this stage as helping your plant “arrive” slowly.
Light
- Start in medium indirect light for the first week.
- If the plant is a known light lover (e.g., Monstera albo, variegated Syngonium), gradually move it closer to a brighter window after 7–10 days.
- Watch for stress signals: sudden bleaching or crispy edges mean the jump was too fast.
Humidity
- Aim for 50–60% for most rare tropicals.
- Use a small humidifier or place on a pebble tray.
- Avoid abrupt jumps from very low to very high humidity; stable conditions are more important than perfection.
Species Examples
- Anthurium warocqueanum: Appreciate higher humidity (60–80%), but introduce it slowly to avoid fungal issues.
- Hoya compacta ‘Variegata’: Tolerates lower humidity; gradual increases help but are not as critical.
Step 5: Holding Back on Fertilizer
It can be tempting to “boost” a new rare plant with fertilizer. However, newly stressed roots can be sensitive.
Safer Fertilizing Rhythm
- Wait 4–6 weeks after arrival before feeding, unless you see strong, healthy new growth.
- Start with a half-strength balanced liquid fertilizer once a month in spring and summer.
- Skip fertilizer for plants still showing signs of major stress (wilting, ongoing leaf drop, root issues).
Common mistake: Over-fertilizing variegated plants in hopes of encouraging more variegation. Genetics and light have a larger influence than fertilizer.
Step 6: Reading Early Warning Signs
Yellowing Lower Leaves
Often a normal response to transition, especially in older foliage. If new leaves remain healthy, gently remove yellowed ones once fully spent.
Ongoing Wilting After Watering
Possible causes:
- Root rot from previous conditions
- Overly compact soil
- Checking the root system.
- Repotting into a looser mix if roots look suffocated.
Try:
Brown Spots or Patches
- Localized, dry brown spots: Often light or heat damage.
- Soft, expanding spots: Potential fungal or bacterial issue.
Provide good airflow, remove worst-affected leaves, and avoid misting foliage heavily.
Seasonal Considerations for New Rare Plants
Spring and Early Summer
- Ideal time to receive and acclimate rare plants.
- Warmer temps and brighter days support root establishment.
Late Autumn and Winter
- Shipping stress is higher due to cold and shorter days.
- On arrival, keep plants away from cold windows or radiators.
- Use grow lights if natural light is limited.
In winter, expect slower adjustment. This is not a failure; it is the plant’s way of conserving energy.
After the First Month: Joining the Collection
When a plant shows:
- Firm, perky leaves
- No signs of active pests
- At least one new healthy leaf or emerging growth point
…it’s ready to join your main plant family.
Introduce it slowly:
- Place near, but not directly touching, other plants.
- Continue to observe for another 2 weeks.
Over time, you’ll learn each rare plant’s specific preferences: the window it loves, the watering rhythm it favors, and the humidity level where it seems most content.
A Calm Perspective on Rare Plant Acclimation
Not every rare plant will adjust perfectly, and that’s okay. Some may lose more leaves than expected; others may take months before showing new growth.
The heart of acclimation is patience and gentle consistency:
- Change conditions slowly.
- Adjust one factor at a time.
- Trust that roots, once settled, will guide the rest of the plant.
In this mindful transition from auction box to windowsill, you’re not simply protecting an investment. You’re welcoming a living piece of the tropics into your care – and giving it time, space, and kindness to become at home.
Key Takeaway
The most important thing to remember from this article is that following these steps can lead to great results.