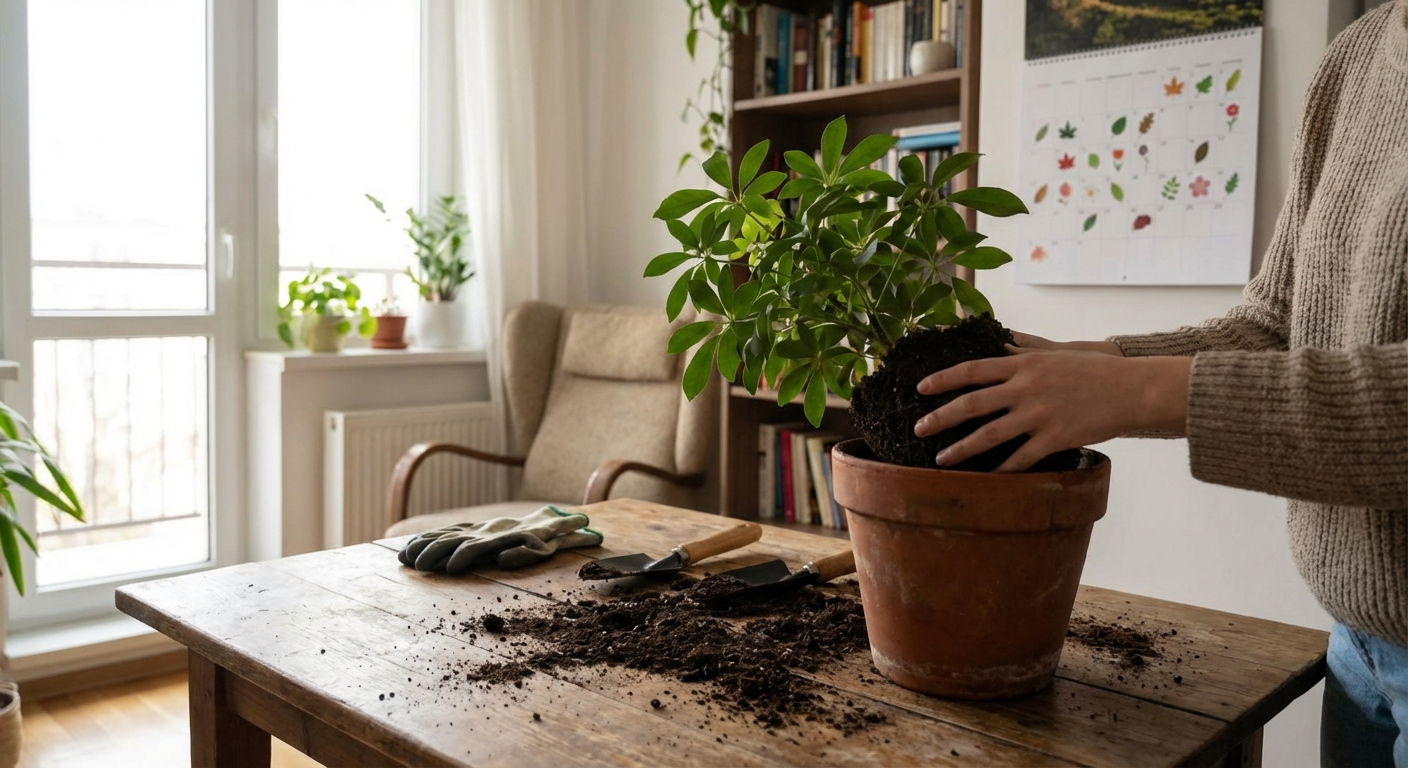
Repotting isn’t just a chore on a to‑do list; it’s a tender transition in your plant’s life. Done calmly and thoughtfully, it becomes a small ritual of care, helping roots stretch, soil refresh, and growth continue at a comfortable pace.
Honoring a Quiet Milestone in Your Plant’s Life
This guide walks you through repotting as a gentle practice—something you can approach with curiosity instead of urgency.
When Is It Truly Time to Repot?
You don’t need to repot on a strict schedule. Most houseplants prefer stability over frequent disturbance. Instead, listen for a few quiet signals:
Subtle Signs Your Plant Is Ready
- Roots circling the bottom of the nursery pot or growing through drainage holes
- Water running straight through the pot and soil drying out unusually fast
- Soil pulling away from the edges, leaving gaps between soil and pot
- Top‑heavy growth: the plant tips easily or feels unsteady
- Stalled growth during the active growing season, despite good light and regular care
When Waiting Is Kinder
Avoid repotting when your plant is already stressed:
- Right after a move or shipping
- During active pest treatment
- Immediately after a major pruning
- In the dark heart of winter, unless it’s an emergency (like root rot)
If you must repot out of season to treat rot or severe root issues, move slowly, be extra gentle, and provide stable, non‑drafty conditions afterward.
Choosing the Right Pot: Size and Material
How Much Bigger Should You Go?
Most indoor plants are happiest when you go up just one pot size:
- For small plants (4–6" pots): move up 1–2" in diameter
- For medium plants (6–10" pots): move up 2"
- For large plants: focus more on depth and stability than width
Too big a pot means more soil than the roots can use. That excess moisture stays around the roots, increasing the risk of rot.
Pot Materials and Their Personalities
- Terracotta: Breathable, wicks moisture away. Lovely for plants that dislike prolonged wet soil (cacti, succulents, hoyas, snake plants). You’ll likely water a bit more often.
- Glazed ceramic: Holds moisture longer. Good for thirstier plants (ferns, calatheas, peace lilies).
- Plastic: Lightweight, moisture‑retentive, and inexpensive. Works well for hanging plants or large specimens you move often.
Whatever you choose, drainage holes are non‑negotiable. If you adore a pot without holes, treat it as a decorative cover pot and keep your plant in a plastic nursery pot inside it.
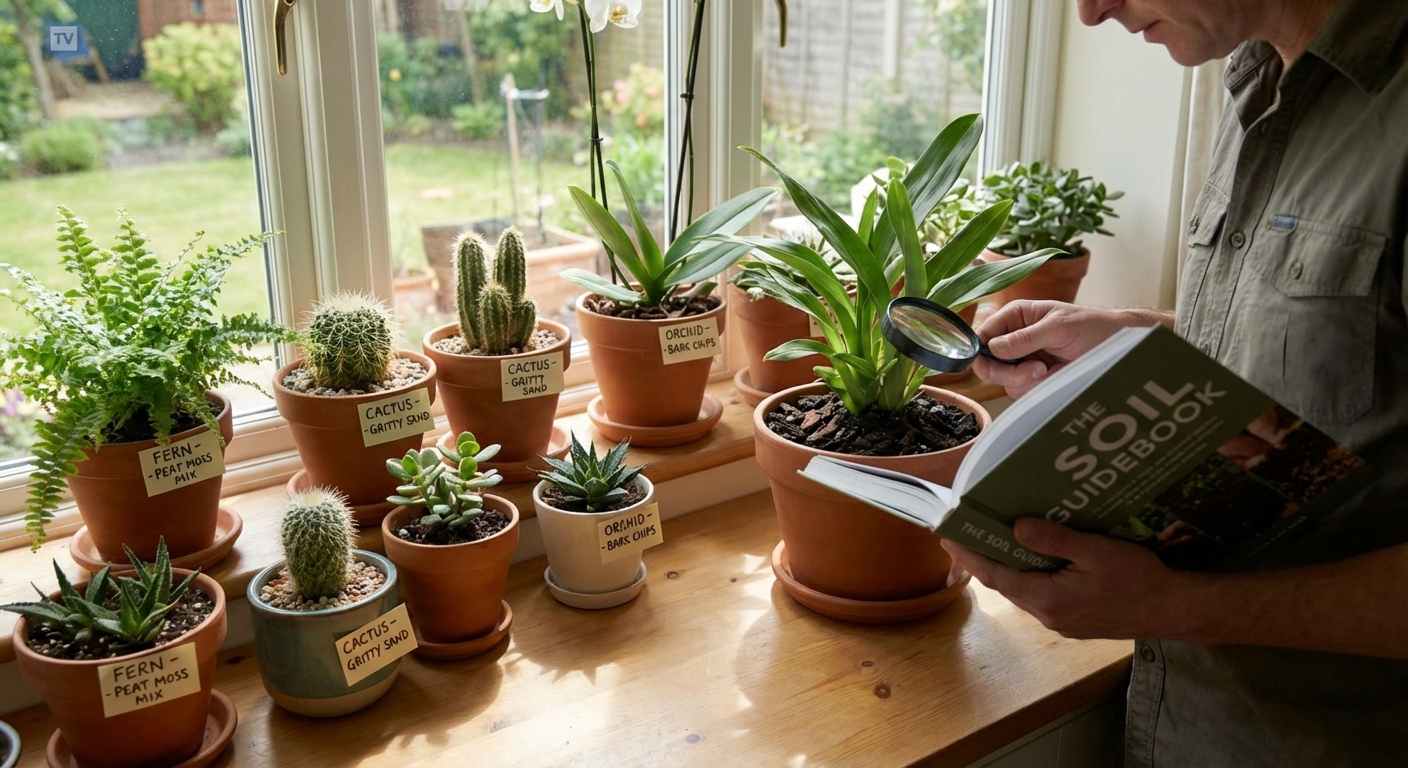
Soil as a Home, Not Just a Filler
Soil sets the stage for healthy roots, which in turn support foliage, flowers, and resilience. Instead of “one mix for all,” think in terms of texture and drainage.
Simple Soil Pairings by Plant Type
- Aroids (Monstera, Philodendron, Pothos, Syngonium)
- 40% high‑quality potting mix
- 30% orchid bark
- 20% perlite or pumice
- 10% compost or worm castings
- Cacti & Succulents (Aloe, Haworthia, Echeveria)
- 50% cactus/succulent mix
- 25% pumice or coarse perlite
- 25% coarse sand or small grit
- Ferns (Boston, Maidenhair, Bird’s Nest)
- 60% peat‑free potting mix or coco coir
- 20% perlite
- 20% fine bark or coco chips
- Calatheas, Marantas, Stromanthe
- 50% potting mix
- 25% coco coir
- 15% perlite
- 10% fine bark or leaf mold
Prefer a chunky, airy mix:
Like fast‑draining, lean soil:
Enjoy moisture but still need air at the roots:
Prefer evenly moist, airy soil:
These recipes are starting points. Your home’s humidity, temperature, and light will guide small adjustments over time.
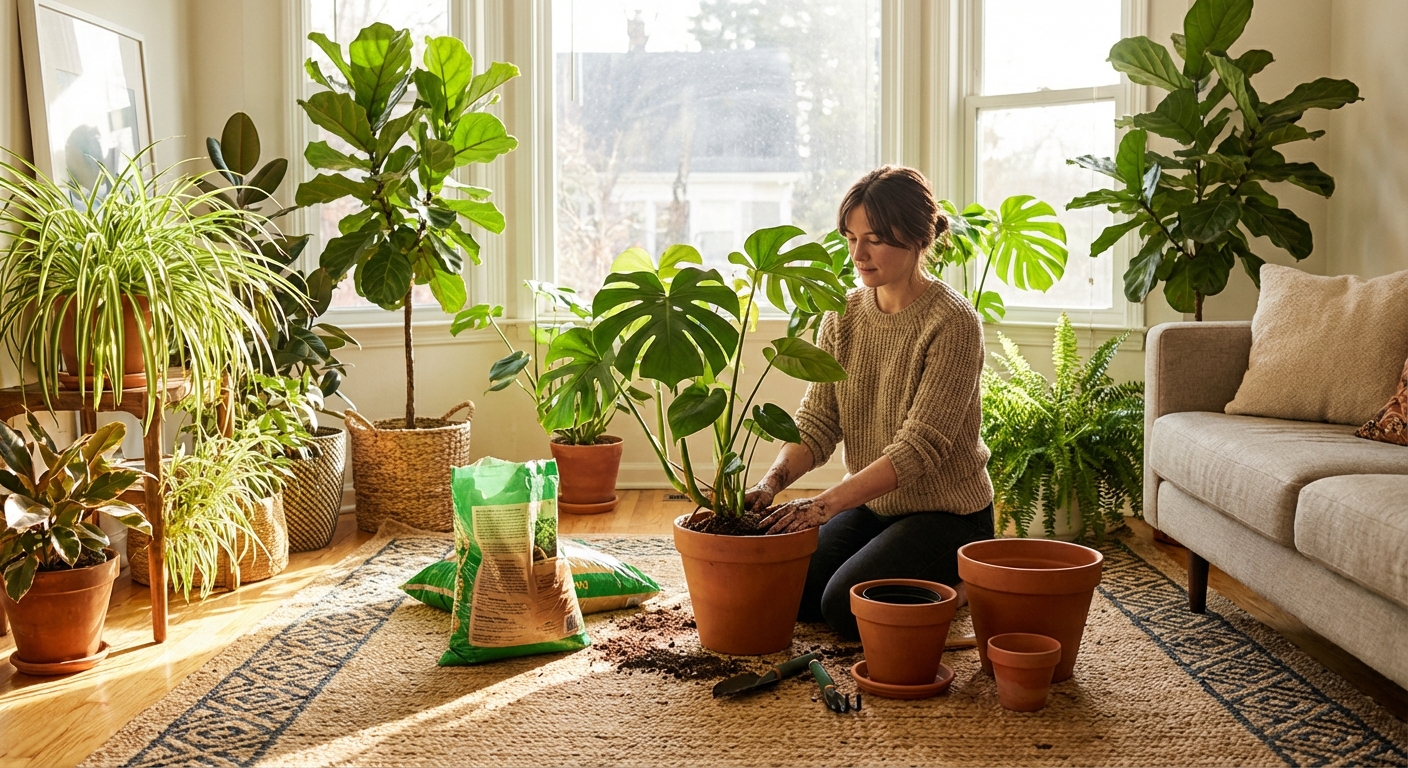
A Calm, Step‑by‑Step Repotting Ritual
Prepare everything before you start so you—and your plant—can move through each stage smoothly.
1. Water Lightly the Day Before
Moist (not soggy) soil is kinder to roots and less messy. Water your plant 12–24 hours before repotting, unless you’re dealing with rot and need dry conditions.
2. Prepare the New Pot and Soil
- Place a mesh screen or coffee filter over drainage holes if you’re worried about soil loss (optional but helpful).
- Pre‑moisten your soil mix so it feels like a wrung‑out sponge.
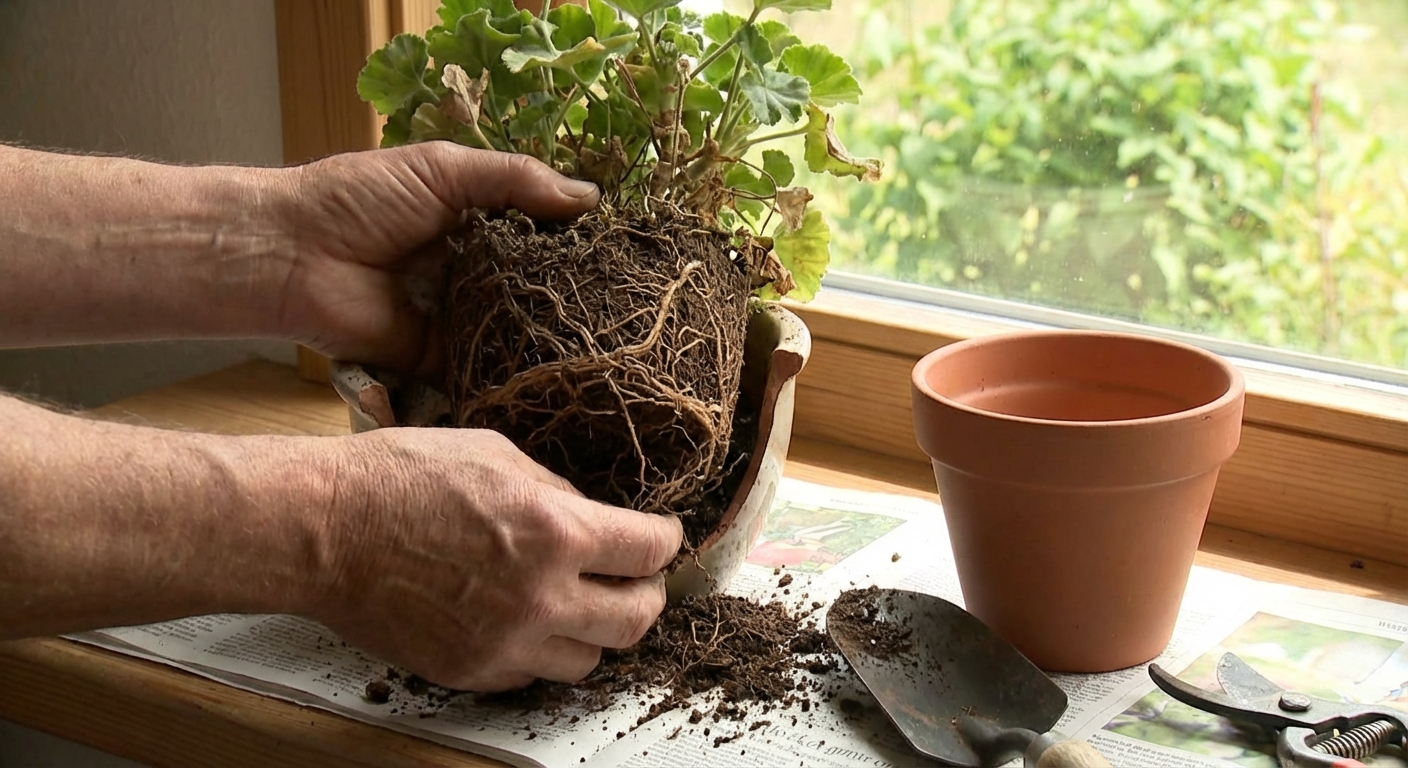
3. Ease the Plant Out
- Support the base of the stems with one hand.
- Gently squeeze or tap around the pot if it’s plastic.
- If roots are strongly attached, slide a clean knife or spatula around the inner edge.
Take your time. If you feel resistance, pause, adjust your grip, and continue with patience.
4. Assess and Tidy the Roots
Study the roots as if you’re reading a story:
- Healthy roots: firm, white to tan, and flexible
- Unhealthy roots: mushy, dark brown or black, with a sour smell
Trim away rotted or dead sections with sterilized scissors or pruners. If you see tight root circles, tease them gently apart. You don’t need to remove every bit of old soil—just loosen what comes away easily.
5. Pot at the Same Height
Add a base layer of soil to the new pot and place your plant so the top of the rootball sits at the same level it did before. Burying the stem deeper can invite rot.
Fill in around the sides with soil, tapping the pot gently to settle it. Use your fingers to firm lightly without compacting too hard; roots still need space to breathe.
6. Water and Let It Rest
Water thoroughly until you see drainage. This helps settle soil around the roots. Then place your plant back where light is bright but indirect, avoiding strong direct sun for a week or two while it adjusts.
Species‑Specific Repotting Notes
Monstera deliciosa
- Repot every 1–2 years during spring or early summer.
- Use a chunky, aroid‑friendly mix to support thick roots.
- Provide a moss pole or stake at repotting time to anchor new aerial roots.
Snake Plant (Sansevieria / Dracaena trifasciata)
- Enjoys being slightly root‑bound.
- Repot only when the pot is visibly deformed or roots are escaping.
- Use fast‑draining soil; avoid heavy, peat‑rich mixes.
Peace Lily (Spathiphyllum)
- Appreciates a slightly snug pot but sulks if too crowded.
- Repot when watering becomes a daily task yet leaves still droop.
- Use moisture‑retentive soil and keep evenly damp—not soggy.
Fiddle Leaf Fig (Ficus lyrata)
- Sensitive to disturbance, so repot no more than every 1–2 years.
- Move up just one pot size; larger jumps often cause stress.
- Keep the rootball as intact as possible; avoid aggressive teasing.
Common Mistakes to Gently Avoid
- Over‑potting: Choosing a pot that’s far too large, leading to soggy soil.
- No drainage: Keeping plants in sealed decorative pots without a way for water to escape.
- Repotting too often: Constantly changing pots “just because” can interrupt stability.
- Heavy, compacted mixes: Smothering roots that prefer air (especially aroids and epiphytes).
- Repotting right after purchase: Many plants need a few weeks to acclimate first.
Think of repotting as a periodic refresh, not a cure‑all.
Seasonal Repotting Wisdom
Spring: The Sweet Spot
- New growth and increasing light help plants recover quickly.
- Ideal for most routine repotting, upgrades, and mix adjustments.
Summer: Proceed With Care
- Warmer temperatures are supportive, but watch for heat stress.
- Avoid repotting during extreme heatwaves.
Autumn: Gentle and Minimal
- Okay for small adjustments or necessary interventions.
- Avoid major root pruning; plants are slowing down.
Winter: Emergency‑Only Zone
- Growth is minimal and light is weak.
- Reserve repotting for urgent issues like severe root rot or pests.
Troubleshooting After Repotting
Mild stress can appear even after a careful repot. Most of the time, your plant just needs quiet and consistency.
Yellowing or Drooping Leaves
- Check moisture: soil may be staying wetter than before in the new mix or pot.
- Ensure adequate but gentle light; avoid dark corners.
- Remove only the most severely damaged leaves and give the plant time.
Wilting Despite Moist Soil
- Roots may have been compromised or pruned heavily.
- Increase humidity, reduce direct sun, and hold off on fertilizer until new growth appears.
Soil Staying Wet for Too Long
- Confirm drainage holes are clear.
- Use a moisture meter or your finger to judge dryness before watering.
- If the mix is clearly too heavy, amend the top few inches with perlite or bark; full repotting can wait until the next growing season unless roots are deteriorating.
Closing Thoughts: Repotting as an Ongoing Conversation
Repotting is less about perfection and more about partnership—recognizing when your plant is ready for a little more room, fresher soil, or better support. With each repot, you learn more about root patterns, preferred textures, and how your home’s environment shapes your plants’ needs.
Move slowly, observe often, and trust that small, consistent acts of care carry your indoor garden forward in gentle, steady growth.
Key Takeaway
The most important thing to remember from this article is that this information can change how you think about Repotting & Soil.